Summer is traditionally the season when most people get their tattoos done. In a way it makes sense, because you usually wear tank tops and shorts, and can therefore show them off. But if you haven’t made up your mind yet, why don’t you try a Photoshop tattoo instead? It’s the perfect way to check how the design will look on you before actually using needles and ink. Plus, it can be redone and erased any time!

1. The first step is obviously opening the images of the person and the tattoo you’re going to work with. You can use your own photo or a friend’s. As for the tattoo, search Google Images for “flash tattoos” and you’ll find tons of designs.
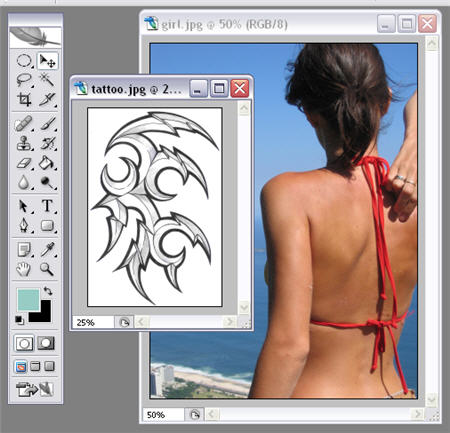
2. Move the tattoo onto the photo with the move (V) tool and resize it with Ctrl+T to make it fit the body. Use also the Distort and Perspective tools if necessary (both under the Edit > Transform menu) so that the tattoo looks as realistic as possible.

3. Now change the tattoo layer blending mode to Multiply and you’ll see that all the white in the original tattoo magically disappears.
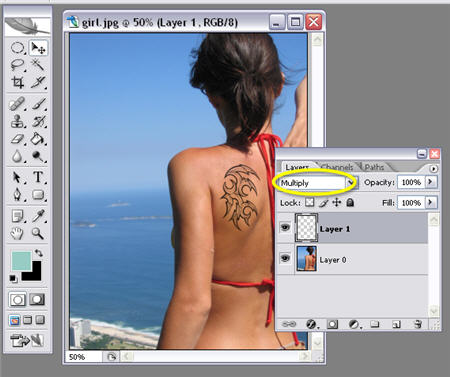
4. Finally reduce the tattoo’s opacity, apply a blurring effect to make it look even more real, and you’re done! As you can see, the effect works both with black and color tattoos.


