Related Articles

4 useful tips to get started in the Yakuza/Like a Dragon saga

The study of ‘Life is strange’, accused of creating a toxic environment
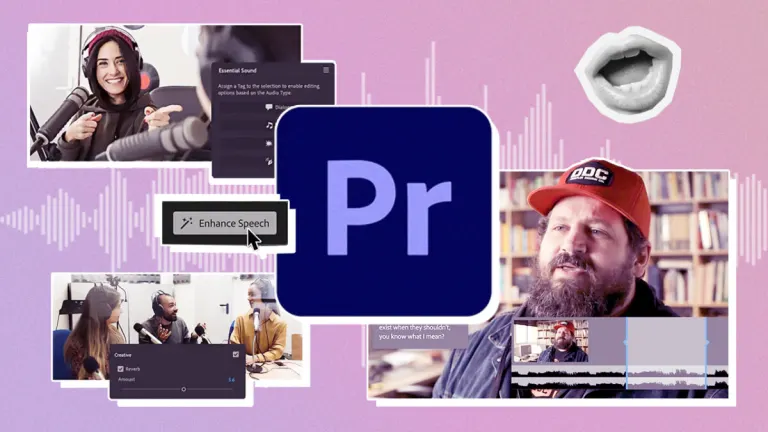
The future of sound in your videos is already here: Adobe Premiere Pro’s AI allows you to remove noise and create an exceptional auditory experience.

One of the most original and fun science fiction movies of recent years arrives on Netflix

Can AI be the greatest ally in reversing Climate Change?
Unlocking PC Health with CCleaner: A Comprehensive Guide
The new iPads already have a possible release date: we will have to be patient
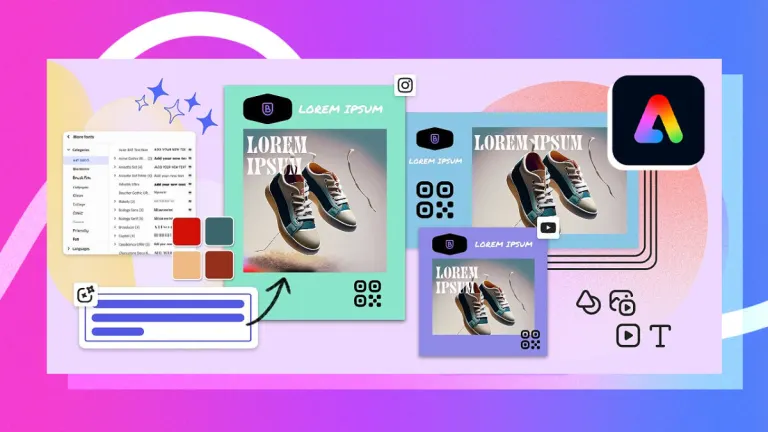
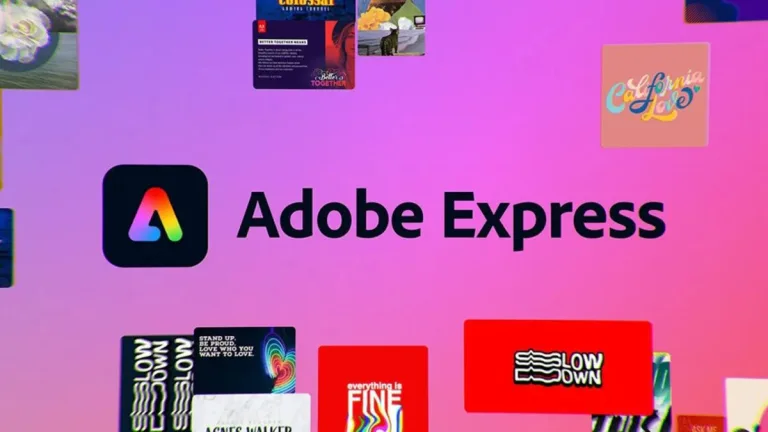
Adobe Express AI helps you create new and exciting templates with just one instruction
TikTok is one step away from being banned in the United States, and we will show you how to access it through a VPN
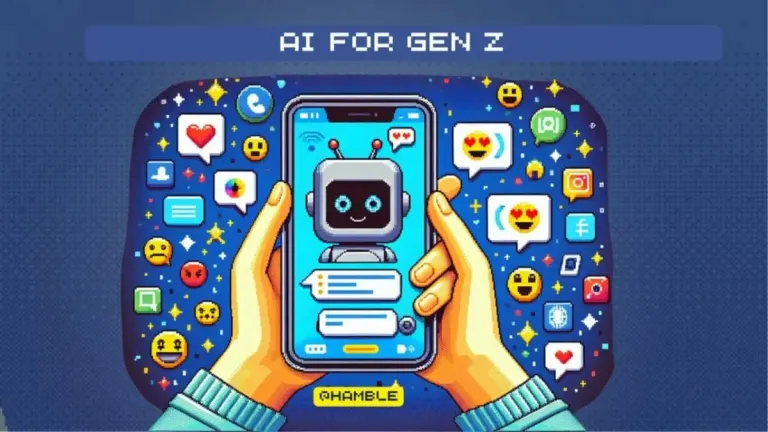
Leave your professional future in the hands of ChatGPT: Gen Z is doing it
Conquer Call of Duty Warzone III With CyberGhost VPN
Adobe and TikTok collaborate to offer you a virtual assistant that will even surprise AI detractors
IKEA incorporates AI into its website to make our lives easier… or at least it tries