Related Articles
This is how Apple would incorporate AI into their iPhone by the end of 2024

Do you want to know what position you would have in a K-Pop band? Spotify gives you a hand

Google announces major organizational changes in several key teams
In this way, now you can try TikTok Notes no matter the country you live in.

La aplicación de TikTok para matar a Instagram ya está aquí para algunos afortunados.
An influencer falls off a bridge while taking a selfie. And she’s not the first…
The AI Pin from Humane hits the market: a failure in its launch?
How to edit a video in the Photos app with our iPhone or iPad
Sticker lovers are in luck: this is the latest addition to Telegram
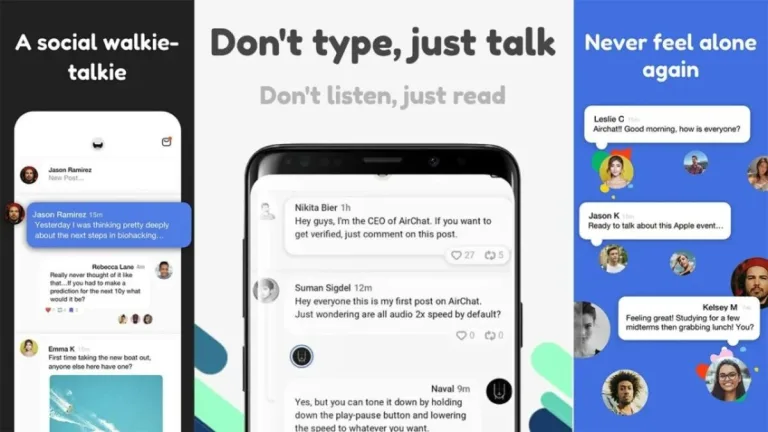
That is Airchat, an application where speaking is the most important thing.
Microsoft Copilot for businesses now has the educational version and the work panel available
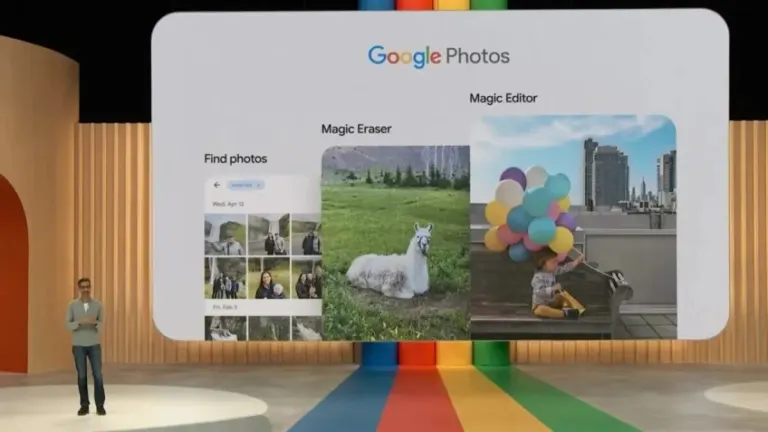
Google’s AI photo editing tools are reaching more mobile devices
This is how the new SEO scam works that uses AI-generated lawyers